https://www.udemy.com/course/best-react/
【한글자막】 React 완벽 가이드 with Redux, Next.js, TypeScript
Javascript부터 웹 어플리케이션 배포까지, React와 프론트엔드 최신 기술을 가장 쉽고 확실하게 배우는 법
www.udemy.com
이 게시물은 유데미 React 완벽 가이드 강의를 보고 메모를 남기는 게시물 입니다.
css는 깃허브 참고 https://github.com/katf101/React-The_Complete_Guide
1. Props 전달하기
Props란?
- 속성을 추가해서 사용자 지정 컴포넌트에 데이터를 전달할 수 있는 기능
- Props는 컴포넌트 안에서 사용자 지정 컴포넌트에 설정되었을 수도 있는 모든 속성에 접근할 수 있다.
- 함수를 재사용하듯 props도 재사용의 개념을 가진다.
데이터 전달해보기
App.js 에서 expenses 객체를 생성해주고 데이터를 전달해주고 싶은 컴포넌트에 속성을 추가하여 데이터를 전달한다. <ExpenseItem title={...},amount={...},...> ExpenseItem 컴포넌트의 title, amount, ...을 Props의 속성으로주고 중괄호 {} 안에 전달하고 싶은 값을 넣어주어 속성과 함께 전달 할 수 있다.
import "./App.css";
import ExpenseItem from "./components/Expenseltem";

function App() {
  const expenses = [
    {
      id: "e1",
      title: "Toilet Paper",
      amount: 94.12,
      date: new Date(2020, 7, 14),
    },
    {
      id: "e2",
      title: "New TV",
      amount: 799.49,
      date: new Date(2021, 2, 12),
    },
    {
      id: "e3",
      title: "Car Insurance",
      amount: 294.67,
      date: new Date(2021, 2, 28),
    },
    {
      id: "e4",
      title: "New Desk (Wooden)",
      amount: 450,
      date: new Date(2021, 5, 12),
    },
  ];

  return (
    <div className="App">
      <h2>Let's get started!</h2>
      <ExpenseItem
        title={expenses[0].title}
        amount={expenses[0].amount}
        date={expenses[0].date}
      ></ExpenseItem>
      <ExpenseItem
        title={expenses[1].title}
        amount={expenses[1].amount}
        date={expenses[1].date}
      ></ExpenseItem>
      <ExpenseItem
        title={expenses[2].title}
        amount={expenses[2].amount}
        date={expenses[2].date}
      ></ExpenseItem>
      <ExpenseItem
        title={expenses[3].title}
        amount={expenses[3].amount}
        date={expenses[3].date}
      ></ExpenseItem>
    </div>
  );
}

export default App;


# App.js
1.1 Props 받기
화살표함수의 매개변수에 props라는 이름으로 데이터를 받는다.
전달 받은 Props는 객체의 점 표기법이나 괄호 표기법으로 접근할 수 있다. 여기서는 점 표기법으로 접근한다.
import "./ExpenseItem.css";
const ExpenseItem = (props) => {
return (
<div className="expense-item">
<div>{props.date.toISOString()}</div>
<div className="expense-item__description">
<h2>{props.title}</h2>
<div className="expense-item__price">${props.amount}</div>
</div>
</div>
);
};
export default ExpenseItem;
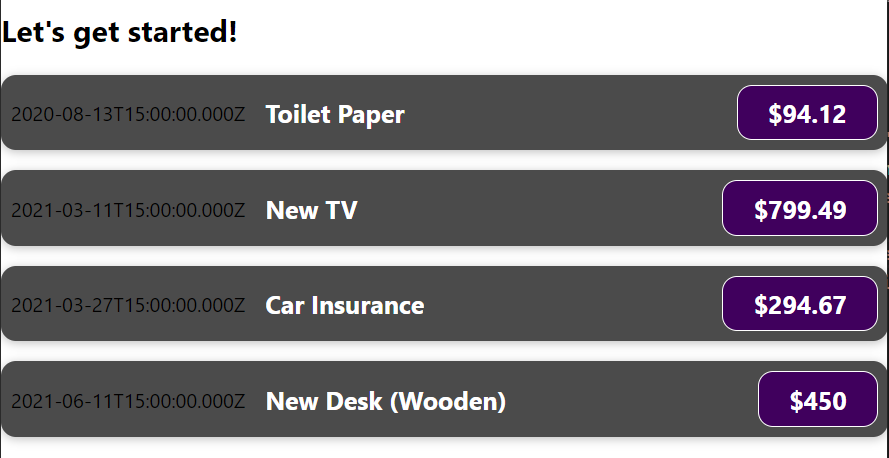
# ExpenseItem.js2. 브라우저 확인
재사용된 컴포넌트 4개에 각각 props가 잘 전달된걸 확인할 수 있다.
3. Props를 변수나 상수에 할당하여 전달하기
아래와 같이 props를 상수에 할당하여 사용하면 가독성이 좋아지고 유지보수도 원활하게 할 수 있다.
import "./ExpenseDate.css";

const ExpenseDate = (props) => {
  const month = props.date.toLocaleDateString("en-US", { month: "long" });
  const day = props.date.toLocaleDateString("en-US", { day: "2-digit" }); // 2-digit은 day를 2자리로 추출
  const year = props.date.getFullYear(); // getFullYear은 Year을 4자리로 추출

  return (
    <div className="expense-item">
      <div>
        <div>{month}</div> // props를 받은 상수 사용
        <div>{year}</div>
        <div>{day}</div>
      </div>
      <div className="expense-item__description">
        <h2>{props.title}</h2>
        {console.log(props["title"])}
        <div className="expense-item__price">${props.amount}</div>
      </div>
    </div>
  );
};

export default ExpenseItem;

# ExpenseItem.js
'Study > Udemy-React-완벽 가이드' 카테고리의 다른 글
| 3.4 React 기초 및 실습: composition(합성) (feat. 유데미 React 완벽 가이드) (0) | 2022.05.25 |
|---|---|
| 3.3 React 기초 및 실습: 컴포넌트 분할 (feat. 유데미 React 완벽 가이드) (0) | 2022.05.25 |
| 3.1 React 기초 및 실습: 동적 데이터 출력 (feat. 유데미 React 완벽 가이드) (0) | 2022.05.25 |
| 3. React 기초 및 실습: JSX, Component, CSS (feat. 유데미 React 완벽 가이드) (0) | 2022.05.25 |
| 2. React 프로젝트 시작하기 (feat. 유데미 React 완벽 가이드) (0) | 2022.05.24 |
